
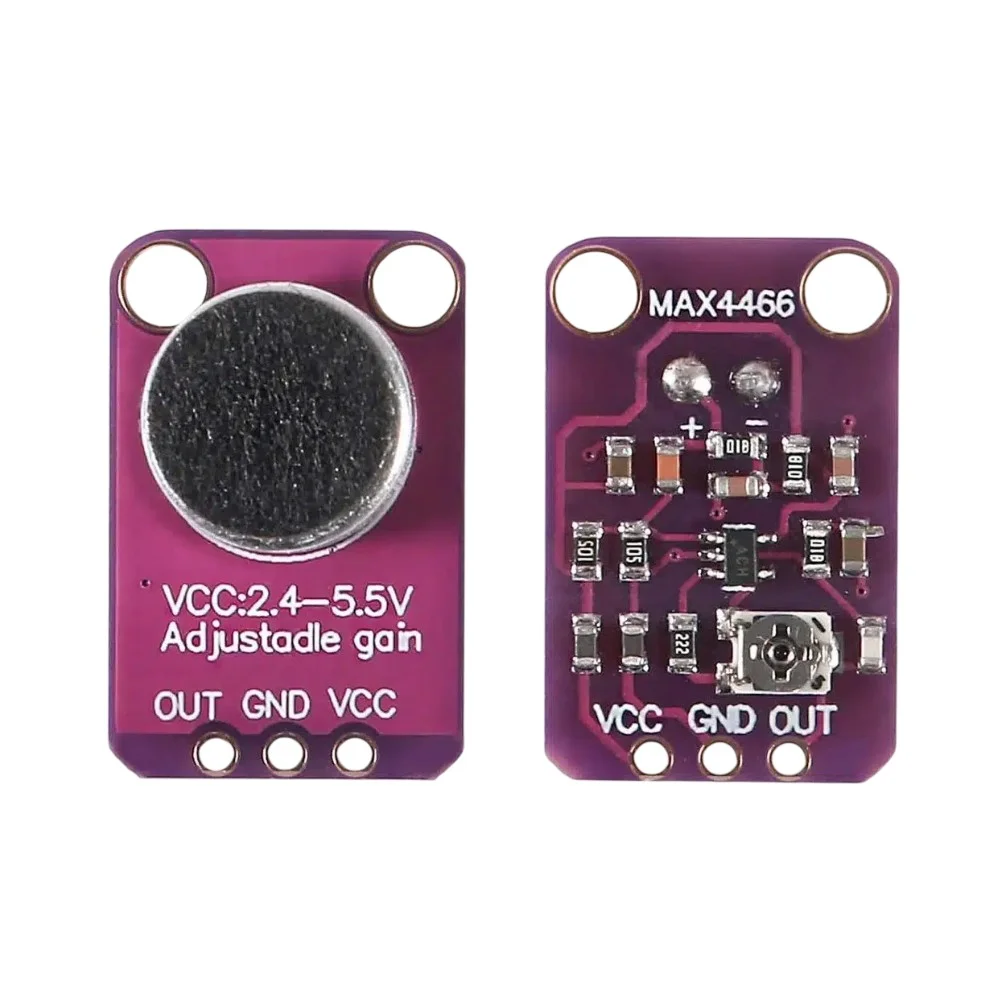
Electret Microphone Amplifier Module (GY-MAX4466) — Overview
The Electret Microphone Amplifier Module (GY-MAX4466) is a compact, high-performance sound sensor designed for clear voice capture and precise audio detection. Built around the low-noise MAX4466 op-amp, this module provides adjustable gain and a clean analog output suitable for Arduino, Raspberry Pi (with ADC), and other microcontroller projects.
Key Features
- Integrated MAX4466 low-noise operational amplifier for clear amplification
- Onboard potentiometer for adjustable gain control to match your environment
- High sensitivity electret condenser microphone captures soft sounds
- Analog output (OUT) for real-time audio level measurement
- Operating voltage: 2.4V to 5.5V for compatibility with common microcontrollers
- Compact design with mounting holes for easy enclosure or panel installation
Technical Specifications
- Microphone type: Electret condenser microphone
- Amplifier IC: MAX4466 (low-noise op-amp)
- Output type: Analog voltage (single-ended)
- Gain: Adjustable via potentiometer (user-configurable)
- Operating voltage: 2.4 V to 5.5 V
- Board size: Compact for embedded and portable projects
- Mounting: PCB mounting holes for screws or standoffs
Why Choose the GY-MAX4466 Microphone Amplifier?
- Crystal clear sound capture with reduced background noise thanks to the MAX4466
- Adjustable gain lets you tune sensitivity for loud or quiet environments
- Quick to integrate with Arduino and other microcontrollers using the analog output
- Small footprint makes it perfect for wearables, toys, robotics, and portable recorders
Typical Applications
- Voice-controlled Arduino projects and voice recognition prototypes
- Sound detection alarms and noise monitoring systems
- Audio visualization: LED VU meters, sound-reactive displays, and equalizers
- DIY voice recorders and interactive toys
- Robotics requiring audio triggers and real-time sound measurement
Connection Guide and Usage Tips
Wiring
- VCC: Connect to 2.4 V to 5.5 V supply (commonly 3.3 V or 5 V from microcontroller)
- GND: Connect to system ground
- OUT: Analog output — connect to an ADC input on your microcontroller
Quick Start
- Wire VCC, GND, and OUT to your microcontroller or ADC module.
- Power the board and open an analog input monitor (for example, Arduino Serial Monitor).
- Slowly adjust the onboard potentiometer until you get a suitable amplitude for your application.
- Use smoothing or peak detection code in your firmware to read audio levels or trigger events.

Reviews
There are no reviews yet.